Extending A Gutter Downspout – Downspout Extension Everyone Can Master
Dec 24, 2023
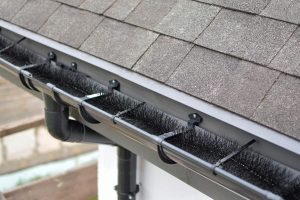
Rain gutters and downspouts are your first line of defence against a flooded basement and foundation. However, if the water is not channelled properly away from the roof and far from the house, it can collect against the foundation wall and seep into the basement. The best way to avoid these problems is to connect your downspouts to buried drainpipes that direct water far from your house. But how do you extend a gutter downspout?
Downspout extension involves many steps. The steps include digging a trench, laying out pipe lengths and fittings, installing a starter elbow, installing an adapter and finishing with a backfill. This post takes a look at how to install a downspout extension. It discusses these and more steps in detail so that by the end of this post, you will be able to install a downspout extension on your own. Keep reading to find out more about eavestrough cleaning and downspout extension.
How Far a Downspout Should Be Extended?
Before installing downspout extensions and thinking about how far should downspout extend from house, it is imperative that you understand how far the extension should be. To determine how far to extend downspouts, start by identifying the type of soil and the incline of the slope around your home. If your house is surrounded by loose, sandy soil and the slope is towards your house, water will easily pool around your foundation and lead to the uneven settling of the structure. If you have been noticing rainwater pooling around your house’s foundation, it is time to consider extending downspouts and installing underground drainpipes.
When extending downspouts, you have to pay attention to the soil and slope around your house. If your house is on sloped land with clay-rich soil, install downspouts that extend at least 3 feet away from the foundation. The extension should go at least 10 feet away from the house on flat land with sandy soil. As you can see, how far you extend your downspout will depend on your home’s location, landscaping, and accessibility. Now is time to answer the most important question – how do you expand a spout?
What You Will Need for a Downspout Extension
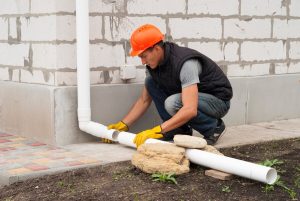
For a complete downspout extension, you will need a drainage pipe, several PVC elbows, T-fittings, adapters, couplings and specialty fittings that enable you to connect the various pipe sections. You will also need PVC primer and PVC cement. This will be needed for gluing all the parts together.
These Simple Steps Will Help You to Extend A Downspout
Once you have all the materials, installing the drainage pipe will be easy. You don’t necessarily need to work with a contractor. There are three phases involved: digging the trench, laying the pipes and backfilling. Regarding how to extend a gutter downspout, here are the steps you should follow.
1. Start With the Trench
The first thing you should do is create an outline for your trench. Next, you will need a string and stakes. Place two stakes at least 4 feet from the house and directly in front of the downspout. Add additional stakes 8 feet apart, then tie a string to the downspout and stretch it out around the stakes.
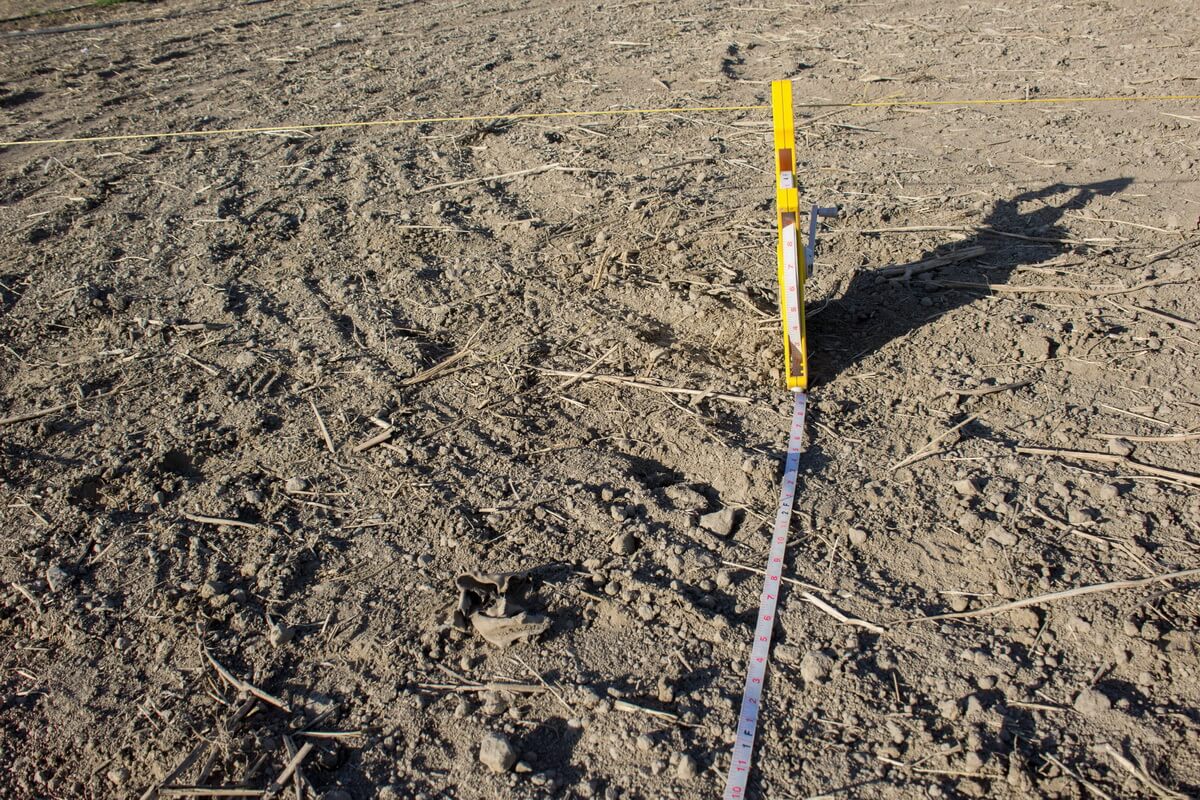
2. Mark the Trench Line
You need to mark out the area you wish to dig. Use flour, spray paint or chalk to mark along the string. Remove the string and lay cardboard along the edge of the line.
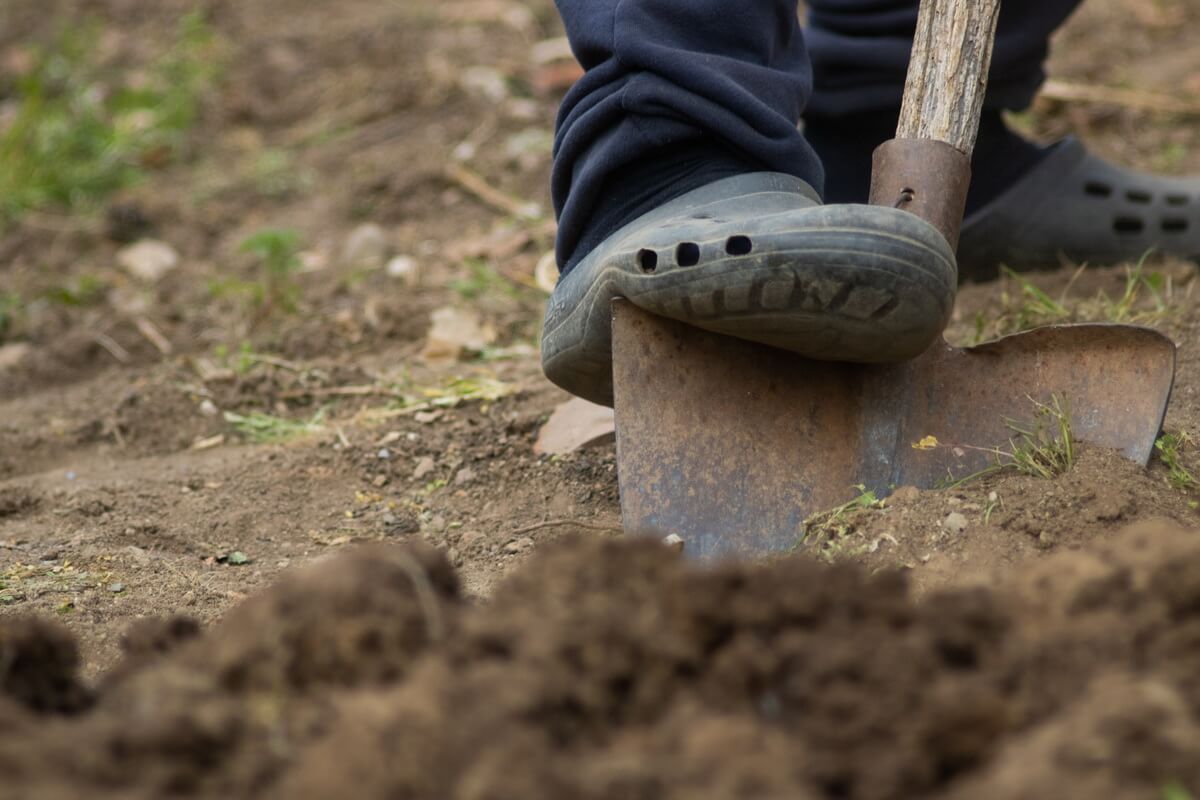
3. Dig the Trench Carefully
The purpose of the cardboard laid along the edge of the trench line is to make backfilling easy. When you start digging, dump the dirt on the cardboard. Make the trench at least 6 inches wide and sloped away from the house at about 1 to 2 inches per length of the pipe. Continue until you get to the end of the marked trench line.
The ease of digging the trench will depend on the length of the trench, type of soil and the tool you are using. If you are digging in rocky soil, it will be more difficult. If you don’t want to dig by hand using a shovel, you can always rent out a trenching machine or hire a backhoe operator. With the advanced tools, you can have the trench done within an hour or two. To avoid damage to your landscape, ask the operator only to use the 12-inch trenching bucket.
Whether you dig by hand or using a machine, the important thing is to make sure the trench is at least 10 inches deep. You also need to keep in mind that the drain pipe will occasionally clog with ice during winter when there is heavy precipitation. This problem is common when the air temperatures are mild during the day and drop below zero at night.
The surefire way of ensuring the pipes never freeze is to bury the drain pipe below the frost line. This is between 32 and 48 inches. Needless to say, digging a trench that is that deep is only possible if the pipe drains into the dry well or if it is connected to existing drain lines. You also need to note that the deeper you dig the trench, the more time it will take.
4. Lay out the Pipe Lengths
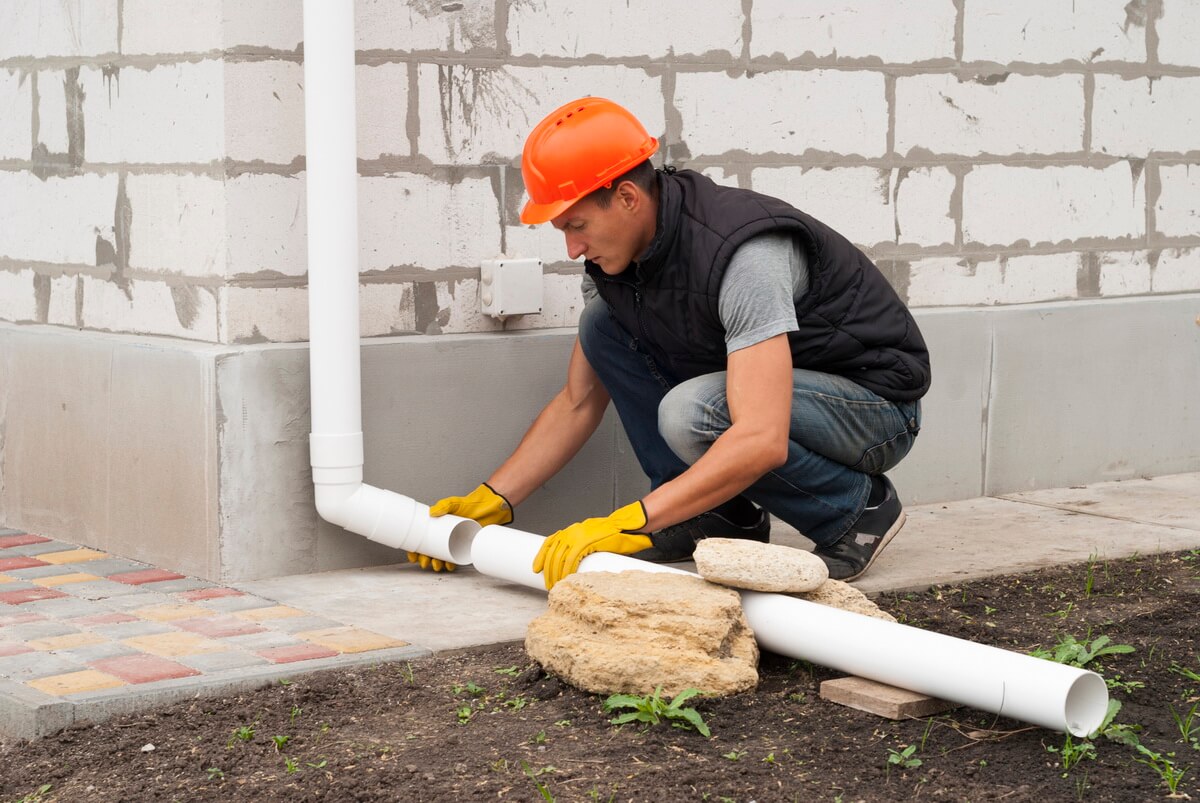
Next, you need to lay the drain pipe and fittings along the trench. That way, you will be sure you have all the parts. Finally, press the downspout adapter into the 3×4 inch reducer coupling and slip it onto the bottom part of the downspout.
5. Starter Elbow Needs to Be Installed
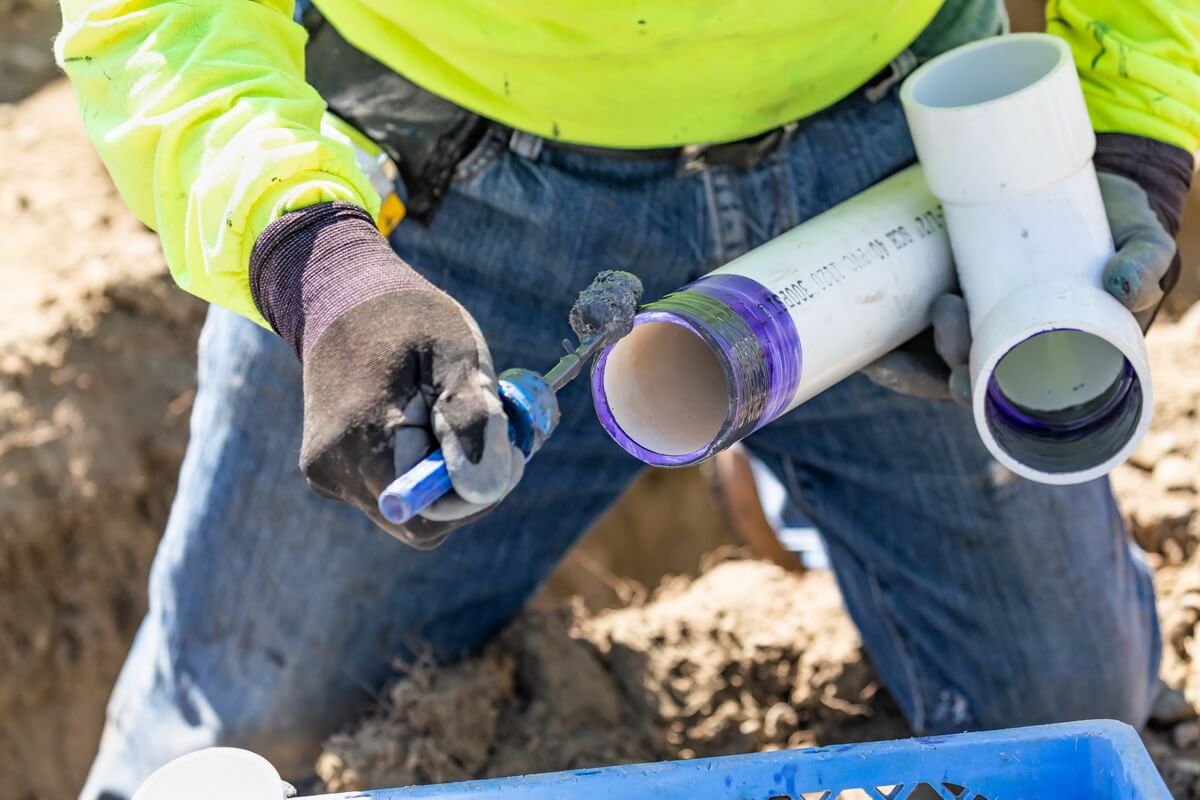
You then need to install a 90-degree elbow. This should be done in the trench below the coupling. Measure the distance between the fittings and then cut a piece of the pipe using a 12-inch power mitre saw, hacksaw or handsaw. Cut a pipe that fits the distance. Swab the two mating surfaces using purple primer and apply cement to the surface. You then need to press the pipe to the elbow immediately. Twist slightly and hold in place until the cement cures. This will only take a few seconds.
6. Then Insert Adapter and Reducer
Once the cement cures, insert the adapter and the reducer assembly back into the pipe that protrudes from the elbow. Do not glue this joint after inserting the adapter on the downspout. You then need to move to the first turn of the trench and lay a 90-degree elbow. Cut the length of pipe that fits the distance from downspout assembly to the first turn. Glue these parts together, then use a level to ensure the pipe is sloping slightly.
7. Keep On the Installation
Proceed with the installation of the pipes until you get to the next downspout. Then, use standard couplings to connect the sections of the pipe.
8. Then Start With a Second Downspout
Now that you are at the second downspout, you will need to create another adapter and reducer assembly for it. You will need to glue sanitary T-fitting to the pipe end and to the end of the trench. Make sure the curved elbow of your T-fitting is facing downstream. You can now go ahead and glue the pipe from the first downspout to the sanitary T-fitting.
9. Finish Pipe Installation
Run the T-fitting along the trench while using couplings to join the lengths of the pipe. Make sure water cannot leak from the joints.
10. Last Steps
If you are using flexible pipes, glue 3×4 inch reducer coupling to the ends of the rigid pipe inside the trench. Slip the pipe over the reducer, then use the stainless steel pipe clamp to secure it. Next, you need to dig a wider but shallow hole at the end of the trench: 16 inches deep by 36 inches wide. Line this hole with flat rocks or gravel. The end part of the drainpipe should be laid on these rocks then covered with more rocks.
The final step is backfilling the trench. If you put the cardboard beside the trench line, you can backfill easily using a garden hoe to pull dirt back into the trench off the cardboard.
Recent Posts
-
How to Choose the Best Gutter Guards?
The best gutter guards prevent gutters from being clogged by debris. So, do...
-
Extending A Gutter Downspout – Downspout Extension Everyone Can Master
Rain gutters and downspouts are your first line of defence against a flooded ...
-

How to Pick the Right Shingle Colour for Your Roof
Your roof is extremely important to the overall appearance of your home, impacting...
-

How to Safely Remove Snow from Your Roof
You should keep your roof as snow-free as possible to prevent ice dams from...
-

How to Decorate Your Roof Without Damaging It
Christmas is almost here, and for many Canadians that means decking their homes...
-

The Importance of Cleaning Fallen Leaves
Nobody likes ridding their property of fallen leaves; it’s hard work, it’s time...