How to Choose Best Outdoor Faucet Freeze Protection to Keep Your Faucets and Sprinkle System From Freezing
Sep 21, 2023
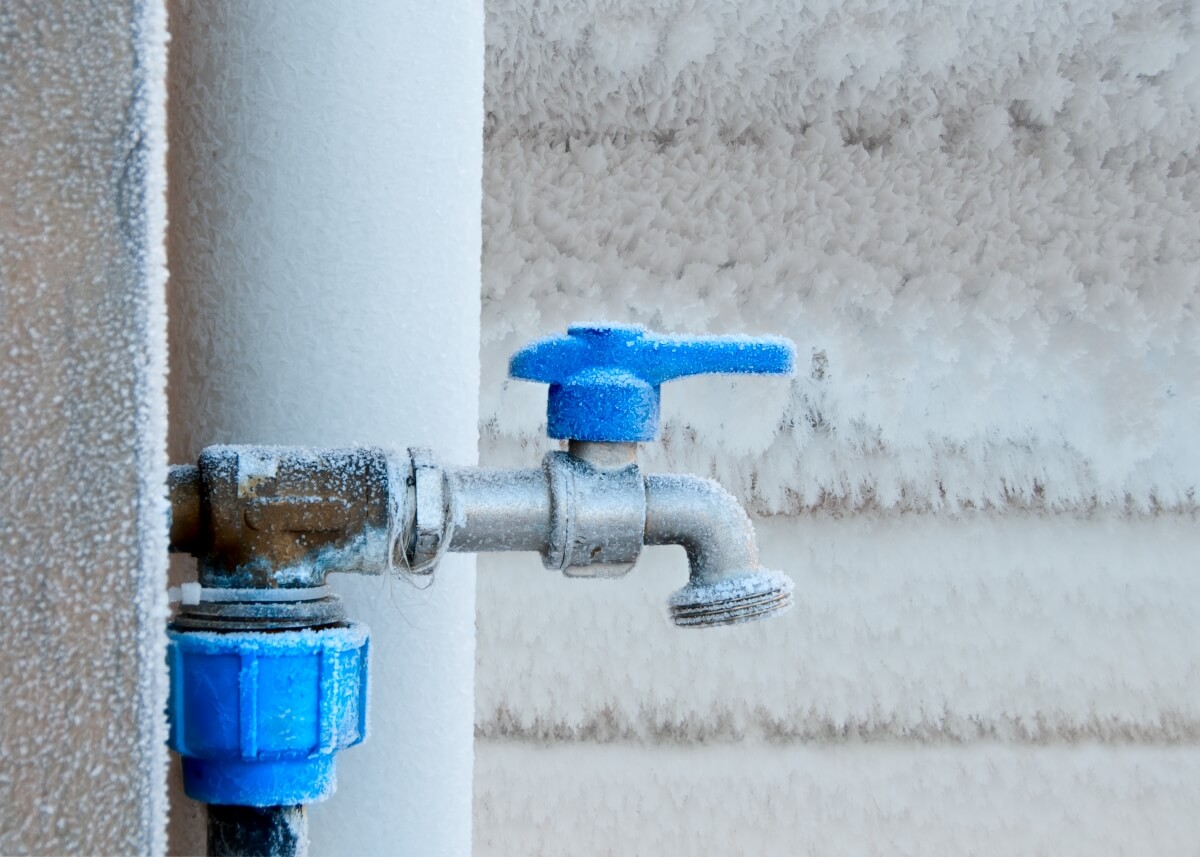
Do I need to winterize outside faucets? The answer is yes. Failing to protect your faucets and outdoor pipes can result in many problems that end up inconveniencing you and costing a lot of money. Learning how to insulate outdoor faucets is a good way of prolonging their lifespan and reducing repair and maintenance costs when the seasons change. In addition, when you winterize the sprinkler system, you ensure water does not expand and cause the pipes to rupture.
So, how do you keep your faucets from freezing? Several options are available for homeowners to consider when searching for the best outdoor faucet freeze protection. As roofing repair experts we come across these issues often so we have compiled a more in-depth information about them and how to winterize your sprinkler system and faucets.
Hose Bib Insulation and Frost-Proof Wall Hydrants – How Do They Work?
If you want a frost-free hose bib, winterize it using hydrants or insulators. Frost-proof wall hydrants and hose bib insulators work by blocking water inside foundation walls. They allow water to drain when they are turned off and are available in different sizes. They winterize water hose because their mechanism exceeds the washer seats on the hose bib or hydrants. The size you choose should depend on the foundation width or the interior point of connection.
Even the frost-free hose bib should be winterized for optimal results. Unfortunately, they do not come with a guarantee that they will remain functional during winter, regardless of how they are marketed. For a long-term hassle-free experience, you should learn how to winterize your hose bib with frost-free spigots using rigid foams or insulated flexible bags.
Which Faucet Cover Is Better To Cover Your Faucet
Faucet covers have different shapes. Some are dome-shaped, and others squared. When figuring out how to install a faucet cover, you must know the type that will likely fit your faucets correctly. The decision could also depend on whether the faucet is conventional or frost-free.
What can I use to cover my faucets?
Some of the covers may have rigid foam, but their gaskets are flexible to allow them to fit the faucets. The flexible ones are made with insulation material from thick fabric. Whatever you choose, it must cover the faucet correctly to ensure the seal remains tight at the base of the faucet.
So, what is the best faucet protector?
Different brands of faucet covers are available for homeowners. Common ones are known as insulated faucet socks and garden faucet insulation covers. Every homeowner has a favourite brand based on personal experience. However, the one you choose should fit tightly to provide the level of sealing that will protect the faucet throughout the cold season. Below are some of the items you will need and more tips on how to cover the outside faucet.
What You Will Need In Order to Winterize Your Faucet
Each spigot outside will need an insulator or faucet cover. The winterization process will also need additional tools such as a wrench to remove nuts and bolts if the pipes need repairs. A bucket is also necessary for removing excess water before insulation.
How to Keep Your Faucet From Freezing in 5 Simple Steps
When it comes to how to insulate an outdoor faucet, following the correct procedures matter a lot. As you prepare for the installation procedures, your goal should be to remove as much water from the pipes as possible. It offers the utmost faucet freeze protection and ensures no water remains trapped to freeze or expand and cause the pipes to burst.
Hose Bibs Must Be Disconnected
Whether you have a freeze-proof spigot or the traditional one, you must start the winterization process by disconnecting them. Remove all screws, splitters, hoses, and every other fitting attached to winterize the water hose. The objective is to ensure all water is drained. Leaving the attachments in place can trap some water and cause the faucet to freeze.
Even if you have the frost-free hose bib, winterize it after disconnecting all components. Do not wait until winter starts to do so. The inconvenience you may experience when you stop using the outside water sooner will be less than what you may have to deal with if you wait until the season changes. Remember, even a single night without hose bib insulation can cause extensive damage.
Do Thorough Spigots Inspection
After disconnecting the pipes, you have to ensure they do not need any repairs. During this process, you may wonder, do you leave the spigot open in winter? The answer is yes, only if you are sure that you have drained all the water. Otherwise, close the shut-off valve.
Another common question among property owners is about how to change an outside water spigot. Again, you can get the expertise of a professional if you are not sure about the procedures. Check additional fixtures like hydrants as well when inspecting the faucet. Focus on possible leaks and drips, which could indicate that the cartridge or washer has a problem.
Give Spigot and Pipes a Good Drain
Removing as much water from the pipes as possible is the next step in winterizing the spigot. The process differs slightly depending on the type you have. For the non-freeze-proof, you should turn off the main water line and drain all the water in a bucket. Try to do this before the temperatures reach below freezing to avoid complications. Next, look for the internal shut-off valve leading to the faucet. Open the spigot and let it remain open for a few hours to allow ample time for the water to drain completely. Do not forget to close the outlet when done.
The process of how to winterize pipes outside becomes even more crucial when an indoor shut-off valve is not available.
For frost-free hose bib, winterize without draining the water. The fixtures are usually designed to prevent water from accumulating at the end of the nozzle. Therefore, drainage is not necessary. Nevertheless, you must remove all attached elements from the hydrants and all spigots before winter. For the frost-free spigots, this is necessary beforehand to ensure they drain properly.
Cover Outside Faucet With Faucet Covers
The final step involves how to cover the outside faucet with insulators to keep them warm. It is easier to cover every outdoor element or fixture separately, including the freeze-free spigots. You can use square-shaped or dome-shaped covers. Just ensure they fit the faucets snuggly.
When handling faucets that are not frost-free, consider adding an extra layer of insulation. Place it inside the cover to increase the chances of the faucet remaining dry and warm the entire winter season. That is an extra cautious measure. Knowing how to install faucet cover on frost-free outlets is also an additional protection measure. Although they are resistant to minimal freezing, they are not entirely frost-proof during winter.
So, do faucet covers work? Yes. With the correct installation steps, they keep your outdoor faucets from freezing under extreme cold.
From Now On Your Faucets Are Winterized And Safe
The steps above can give you the best outdoor faucet freeze protection that lasts the whole winter. They ensure the pipes leading to the house also remain shielded and are kept from rapturing. Please do not interfere with the covers after putting them in place until winter is over. You can then store them and repeat the faucet winterization process the following winter season. You can use them for several years before replacement becomes necessary.
Use These Helpful Tips To Winterize Your Faucets Even Better
Tip#1. Make sure to get freeze proof spigots.
The spigots marketed as frost-proof or freeze-free may not last during winter, but they still have better in-built protection than the conventional ones. Therefore, you can invest in them to avoid potential problems when the weather becomes slightly cold. However, cover them before winter, especially if your area experiences temperatures below the freezing point. Protecting them can also increase their lifespan and give you better long-term value.
Tip#2. What to do if you don’t have a shut-off valve.
Some spigots may not have the shutoff valve, but that does not mean you cannot insulate them. Go for outdoor insulation instead. That is a crucial process that will also ensure your pipes do not burst because of the cold.
Tip#3. Check your faucets for leaks.
Leaks on the spigot can cause many problems, even if it is insulated. Inspect all the hydrants, faucets, and every other fixture available outside. Be thorough and pay attention to possible drips. Repair all problems and if you are not sure, call an expert to inspect for you. Do not wait until temperatures drop to the freezing point to start.
How To Take Care of Sprinkler Winterization
Having a functional and efficient sprinkler system is essential in keeping a lush lawn or yard. In addition, protecting them from external weather elements is essential in maintaining and guaranteeing their functionality. Therefore, do you need to winterize a sprinkler system? The answer is yes.
Freezing temperatures can damage the sprinkler system, but that can be avoided by knowing when and how to winterize your sprinkler system. Various winterizing methods exist for you to try. However, whether you prefer to drain the irrigation system manually, automatically, or use the bow-out method, you must first know how to prepare the sprinkler system for winter before implementing any of them.
When it comes to when to winterize sprinkler systems, consider doing so before winter. You can shut off the systems in the fall, drain and insulate them when winter nears, and turn them back on in spring. So, can I winterize my own sprinkler system? You can protect your irrigation system without professional assistance if you have the expertise to do so. Otherwise, call an expert.
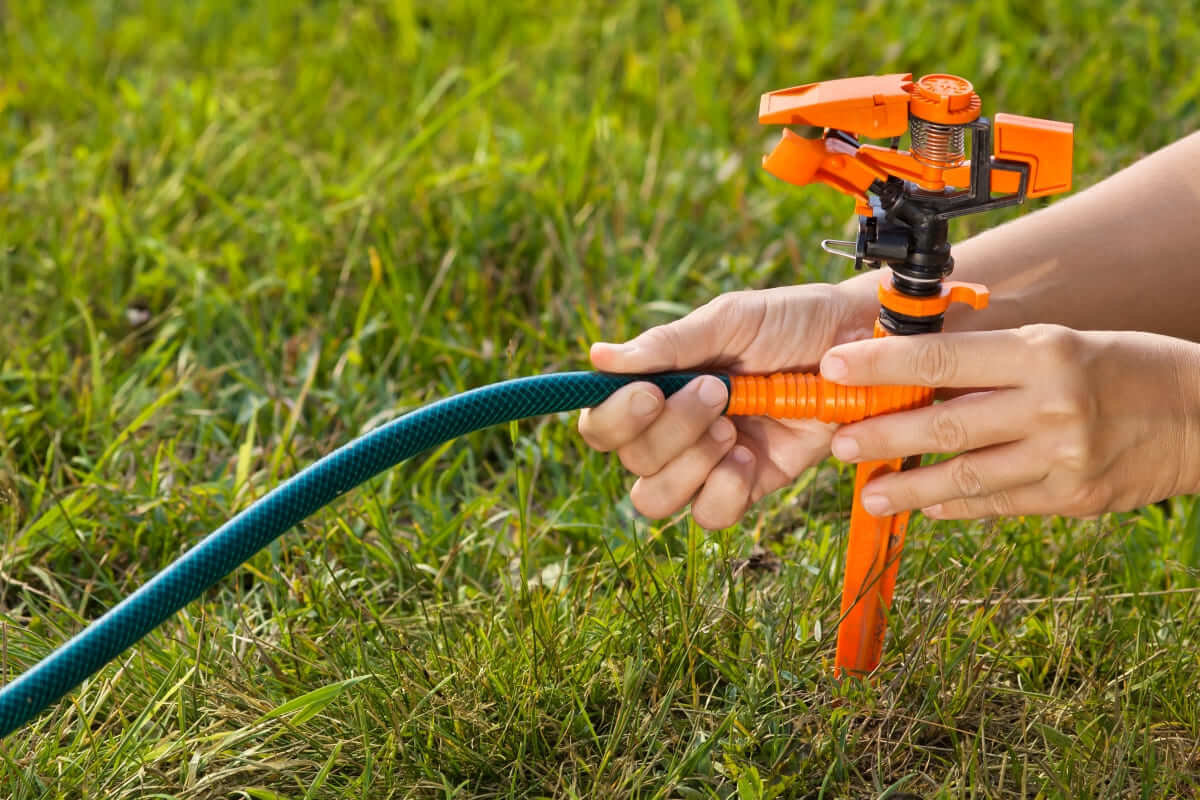
How Many Methods to Winterize Your Sprinkler System Are There?
You can winterize your irrigation system using one of three methods. The first is the manual drain method. It involves the opening of a valve to drain water before the sprinkler winterization is completed. You could also try the automatic drain method, which involves automatic drainage. The third method is known as the blowout method that requires the use of a coupler and compressor. The sprinkler system you have should determine the method you use.
You can always call professional service providers to help if you are not sure about the ideal method.
Sprinkler Winterization With Manual Drain Method
Irrigation systems with valves have manual drainage, which can be modified to winterize sprinklers without blowing out. The shut-off points are located at the end of the pipe to allow emptying of the excess water.
Start by shutting off the main water supply before locating the position of the manual valves. Next, open those valves to allow water to drain, and do not forget about the backflow component.
You should note that the process of how to winterize the sprinkler system effectively depends on the type of valve available. Some have check valves, which allow water flow in one direction. In that case, raising the sprinkler heads will help in optimal drainage. However, remember to close the valves once all the water flows out.
You may also need protective gear like goggles before winterizing sprinkler valves, especially if you suspect the water supply is high-pressured. Open them slowly to reduce the risk of injury.
Sprinkler Winterization With Automatic Drain Method
Some sprinkler systems are equipped with valves that allow automatic drainage. That means you can still winterize sprinklers without blowing out or using the manual technique. They only drain water when the pressure drops and the main valve is turned off.
How to prepare sprinkler system for winter using the automatic drain option:
Shut down the water supply and run one of the sprinkler heads. Excess water will start draining.
Some water may remain between the shutoff valve and the backflow gadget. Look for the solenoid on the valves. It is a plastic cap that has wires protruding at the top. Loosen it to allow airflow into the system and push water out. In case the sprinkler heads have check valves, you can empty them separately instead.
Sprinkler Winterization With Blow-Out Method
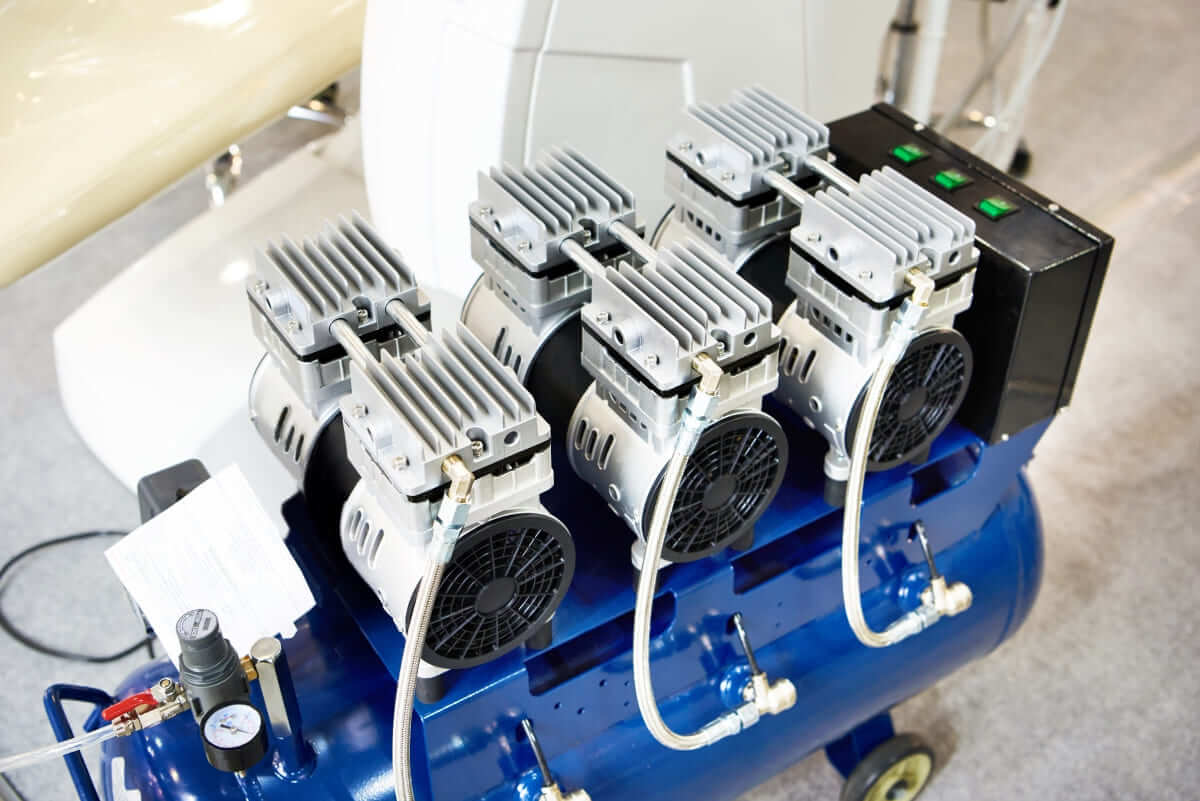
The blowout method uses compressed air to force water out of the sprinkler system. You can attach the compressor to the pipes to ensure any remaining water drains from the sprinkler heads. While this is an effective way to winterize the sprinkler system, it can also be dangerous to the handler and might damage the pipes.
So how do you blow out the sprinkler system?
The process relies on you to force air through the system but does not work if your sprinkler cannot handle the level of pressure available. Remember to take the necessary precautions to reduce the chances of injury or damage. You may also consult a professional to show you how to blow out a sprinkler system.
You will need an air compressor that ranges between 80 and 100 CFM, a suitable coupler for the system you have, and safety goggles. It is important to note that a DIY compressor may not be sufficient for this method because most of them create 50 PSI. That pressure is only enough to clean out PVC pipes and not irrigation systems.
For blowing out the sprinkler system, start by wearing the glasses and putting the coupler and compressor in place.
Your first goal should be to drain the water, which starts with shutting off the main supply. Never blow air directly through the backflow device during the sprinkler winterization process. Instead, look for the highest point on the spigot. It should be the farthest from the compressor. Turn it on, then close the backflow valves. Next, open the compressor valve and add pressure gradually. The slow addition of pressure leaves room for you to cut off the supply if necessary. Keep adding pressure until water starts to flow and drains completely. However, do not exceed the 80 PSI mark and remember to stand far from the active head.
When water starts flowing, activate the sprinkler heads. Begin with the one farthest one from the compressor and shut them one by one when water flow ends. When through, turn off the compressor and remember to release any lingering pressure from the sprinklers.
The process of how to prepare a sprinkler system for winter also requires working on the backflow device. First, turn the manual valves on and off manually. Confirm that you have closed all the valves when done.
Now that you know how to blow out underground sprinklers, damage from cold temperatures should be a thing of the past. However, plan before winter starts, and remember to call an expert if you feel the need to do so. Working with a professional may cost you more money, but it will ensure your irrigation system is protected and that you remain safe.
